

A puncture is one of the most common mechanical problems you’ll encounter while cycling. Whether you’re on a long training ride or racing a triathlon, knowing how to repair a flat tyre quickly can save valuable time and prevent a long walk home. Fortunately, fixing a road bike puncture is a straightforward skill that every triathlete can learn. With a few basic tools and some practice, you can replace or repair an inner tube in just a few minutes. This guide explains the causes of punctures, the equipment you’ll need, a simple step-by-step repair process and practical ways to minimize the chances of getting another flat.
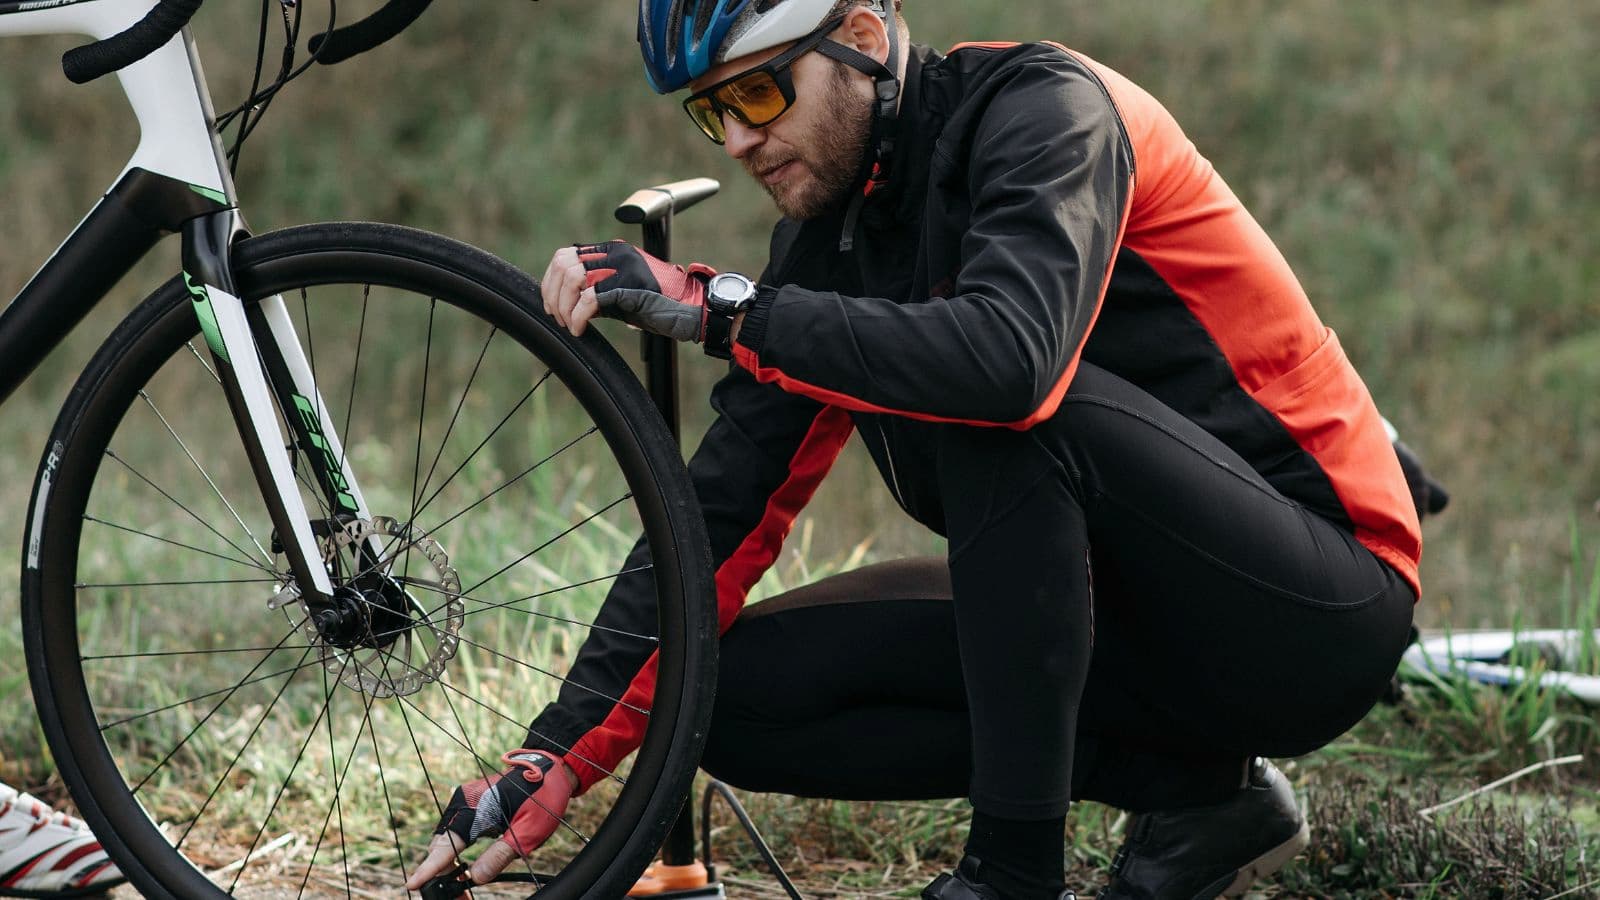
Why Every Triathlete Should Know How to Fix a Puncture?
Even the best tyres can puncture.
Common causes include:
- Glass.
- Thorns.
- Sharp stones.
- Metal debris.
- Pinch flats from potholes.
- Worn tyres.
Being able to repair a puncture yourself means you can continue your ride without relying on outside assistance.
What You’ll Need:
Carry a small repair kit whenever you ride.
A basic puncture kit should include:
- Spare inner tube.
- Tyre levers.
- Mini pump or CO₂ inflator.
- Patch kit.
- Multi-tool.
- Disposable gloves (optional).
Checking your equipment before every ride ensures everything is ready when you need it. What you should check on your bike before every ride includes a useful pre-ride inspection checklist. Here’s what you should do:
Move Somewhere Safe
Before working on your bike:
- Move off the road.
- Find stable ground.
- Shift into a safe position away from traffic.
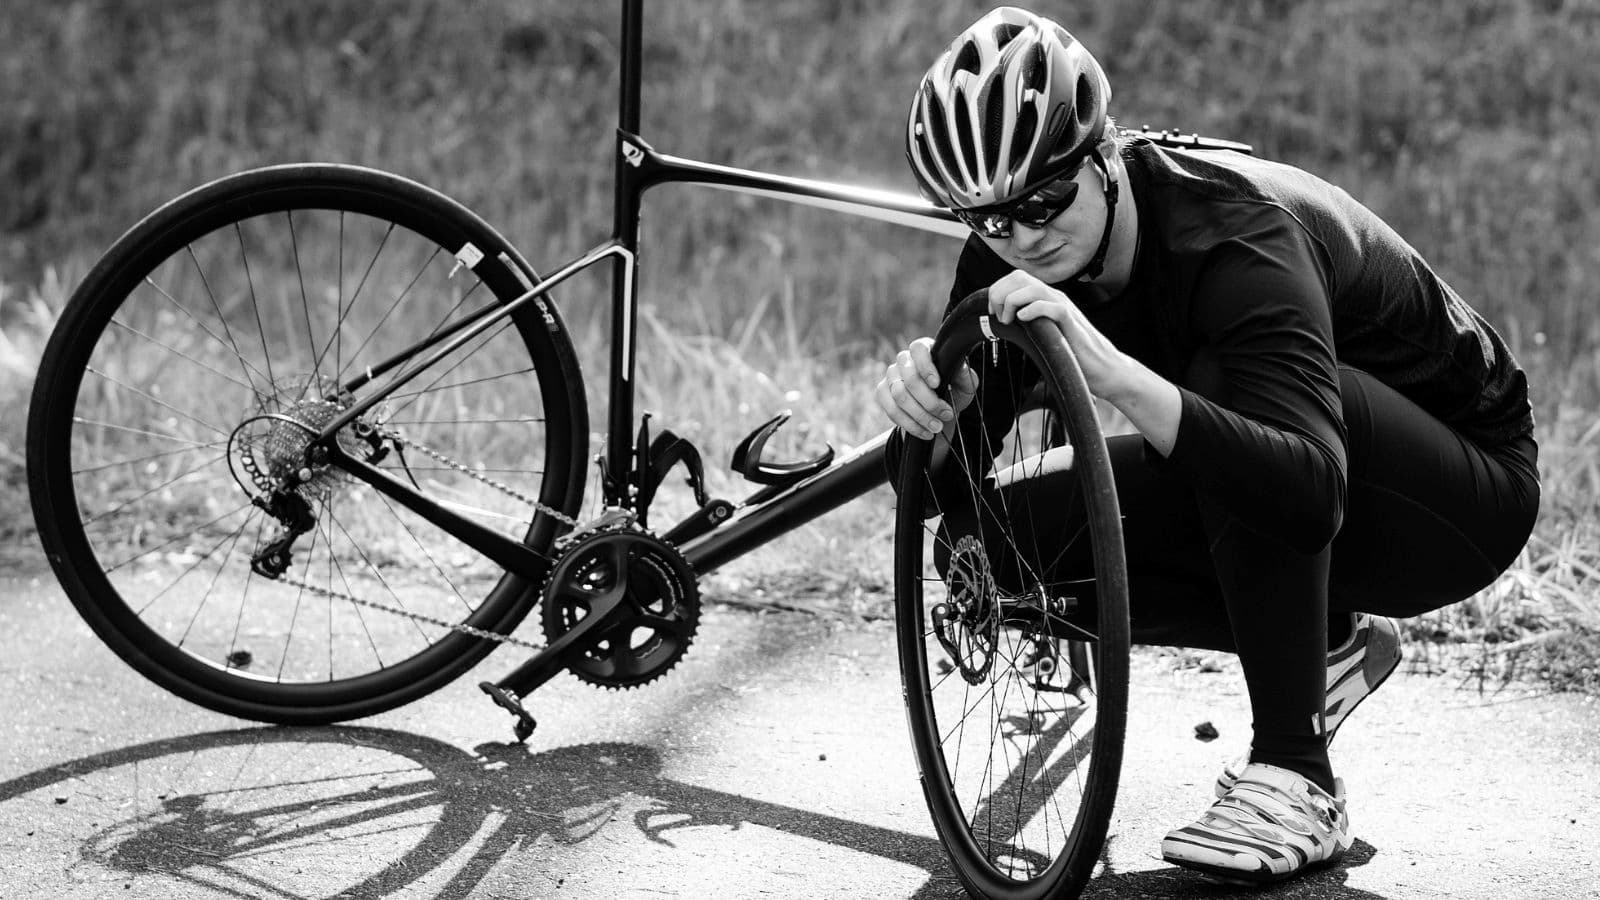
- Turn the bike upside down carefully or use a repair stand if available.
Safety should always come before speed.
Remove the Wheel
For the rear wheel:
- Shift into the smallest rear cog.
- Release the brake if necessary.
- Open the quick-release or thru-axle.
- Pull the derailleur backwards while removing the wheel.
Front wheels are usually simpler and require only releasing the axle.
Remove One Side of the Tyre
Use tyre levers to lift one bead of the tyre over the rim. Avoid using excessive force or sharp metal tools, as these can damage the rim or tyre.
Once one side is free:
- Remove the inner tube.
- Leave the other tyre bead on the wheel.
Find the Cause of the Puncture
Before fitting a new tube, inspect the tyre thoroughly as the tyre maybe flat due to excessive pressure when climbing seated vs standing.
Look for:
- Glass fragments.
- Thorns.
- Small stones.
- Wire.
- Sharp cuts.
Run your fingers carefully around the inside of the tyre to feel for anything still embedded. If the object remains, your replacement tube will likely puncture immediately.
Check the Rim Tape
The rim tape protects the inner tube from spoke holes.
Inspect it for:
- Tears.
- Movement.
- Sharp edges.
- Exposed spoke holes.
Replace damaged rim tape before continuing if possible.
Inflate the New Tube Slightly
Add just enough air so the tube holds its shape. This makes installation easier and reduces the chance of twisting or pinching the tube.
Install the Inner Tube
Insert the valve through the valve hole first. Then work the tube evenly around the tyre before pushing the tyre bead back onto the rim using your hands whenever possible. Avoid trapping the inner tube beneath the tyre bead.
Inflate the Tyre
Once the tyre is fully seated on the rim, inflate it gradually.
As you inflate:
- Check both tyre beads are seated evenly.
- Ensure no section of the inner tube is visible.
- Stop immediately if the tyre begins bulging.
Inflate to the pressure recommended on the tyre sidewall. Correct tyre pressure improves comfort, grip and reduces the likelihood of future punctures.
Refit the Wheel
Reinstall the wheel carefully.
Before riding:
- Tighten the quick-release or thru-axle securely.
- Reconnect the brake if it was released.
- Spin the wheel to check it rotates freely.
- Ensure the tyre doesn’t rub the frame or brake pads.
A properly fitted wheel is essential for both safety and performance.
Test the Bike Before Continuing
Never ride away immediately after fixing a puncture.
Instead:
- Squeeze both brakes firmly.
- Bounce the bike gently.
- Check tyre pressure.
- Ride slowly for the first few metres.
A quick inspection helps identify any problems before returning to full speed and helps in preventing your knees from hurting during long cycling.
Should You Repair or Replace the Inner Tube?
Most triathletes replace the punctured tube during a ride because it’s faster. Later at home, you can decide whether to repair it with a patch kit.
Replace the tube if:
- The valve is damaged.
- There are multiple punctures.
- The tube has split.
- The rubber shows signs of age or cracking.
Patch the tube if the puncture is small and the rest of the tube remains in good condition.
How to Prevent Future Punctures?
While punctures can’t always be avoided, you can significantly reduce the risk.
Simple preventative measures include:
- Checking tyre pressure before every ride.
- Replacing worn tyres.
- Removing embedded debris after rides.
- Avoiding obvious road hazards.
- Keeping tyres clean.
- Inspecting your tyres regularly.
Regular maintenance goes a long way towards reliable cycling. Understanding tips on how to climb on a road bike as a beginner is also helpful for those starting new.
Practise at Home
The first time you fix a puncture shouldn’t be during a race. Triathletes should also practice different mountain biking skills for triathletes to prevent the chances of repeated punctures.
Practising at home helps you become familiar with:
- Removing the wheel.
- Using tyre levers.
- Installing an inner tube.
- Inflating the tyre correctly.
With practice, many cyclists can replace an inner tube in under ten minutes.
Carry Enough Equipment
Every long ride should include enough equipment to deal with at least one puncture.
A typical repair kit includes:
- One or two spare inner tubes.
- Two tyre levers.
- Mini pump or CO₂ inflator.
- Patch kit.
- Multi-tool.
Being prepared means a puncture becomes a short delay rather than the end of your ride.
Stay Calm During a Puncture
Punctures are frustrating but rarely disastrous. Take your time and work methodically.
Rushing often leads to:
- Pinched tubes.
- Poor tyre seating.
- Forgotten brake reconnection.
- Incorrect wheel installation.
A calm approach results in a faster and more reliable repair.
Build Mechanical Confidence
Learning basic bike maintenance increases your confidence as a triathlete. Knowing how to fix punctures, adjust gears and perform simple safety checks allows you to train more independently and spend less time waiting for assistance. Developing these skills also helps you identify potential problems before they become major mechanical failures. Understanding how to cycle safely in rain can also help prevent comfort issues that may interrupt longer training sessions.
Common Mistakes
- Forgetting to remove the object that caused the puncture.
- Pinching the new inner tube during installation.
- Inflating the tyre before checking the tube is seated correctly.
- Riding without testing the brakes.
- Carrying no spare inner tube.
- Using tyre levers carelessly and damaging the tube.
- Ignoring worn tyres.
- Rushing the repair.
Practical Tips
- Carry at least one spare inner tube on every ride.
- Practise replacing a tube before race day.
- Inflate the new tube slightly before installation.
- Always inspect the inside of the tyre carefully.
- Check tyre pressure before every ride.
- Replace worn tyres promptly.
- Test the brakes before riding away.
- Keep your repair kit stocked and organised.
Actionable Takeaways
Knowing how to fix a road bike puncture is an essential skill for every triathlete. With the right tools and a little practice, replacing an inner tube becomes a quick and straightforward repair that can save a training session or even your race.
Preparation is the key to success. Carry a well-equipped repair kit, inspect your tyres regularly and practise changing a tube at home. These simple habits will help you deal confidently with punctures and spend more time riding instead of waiting for help.