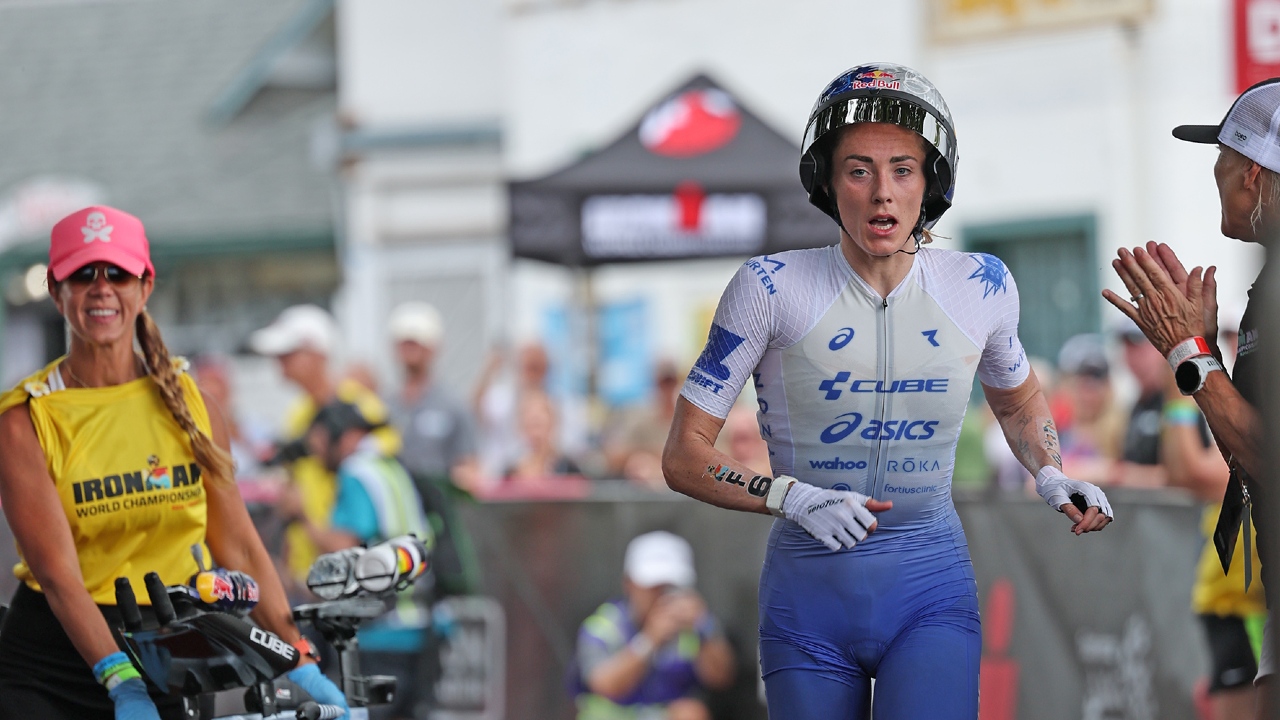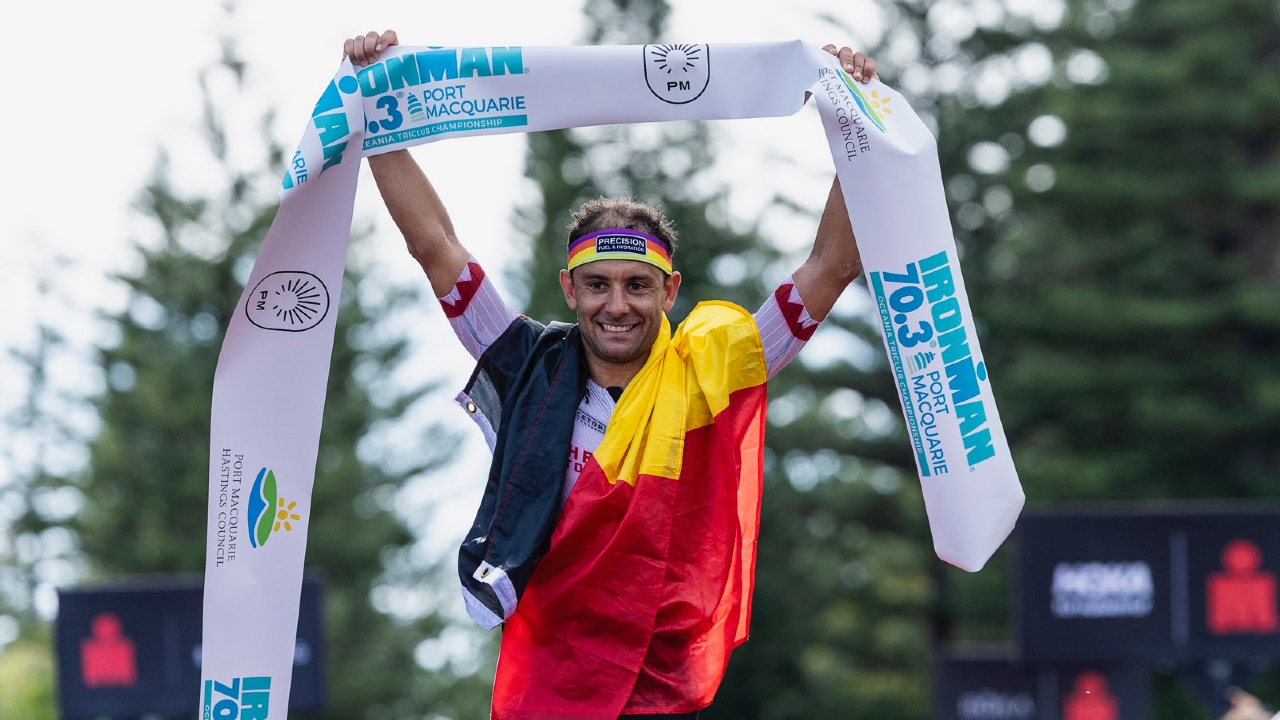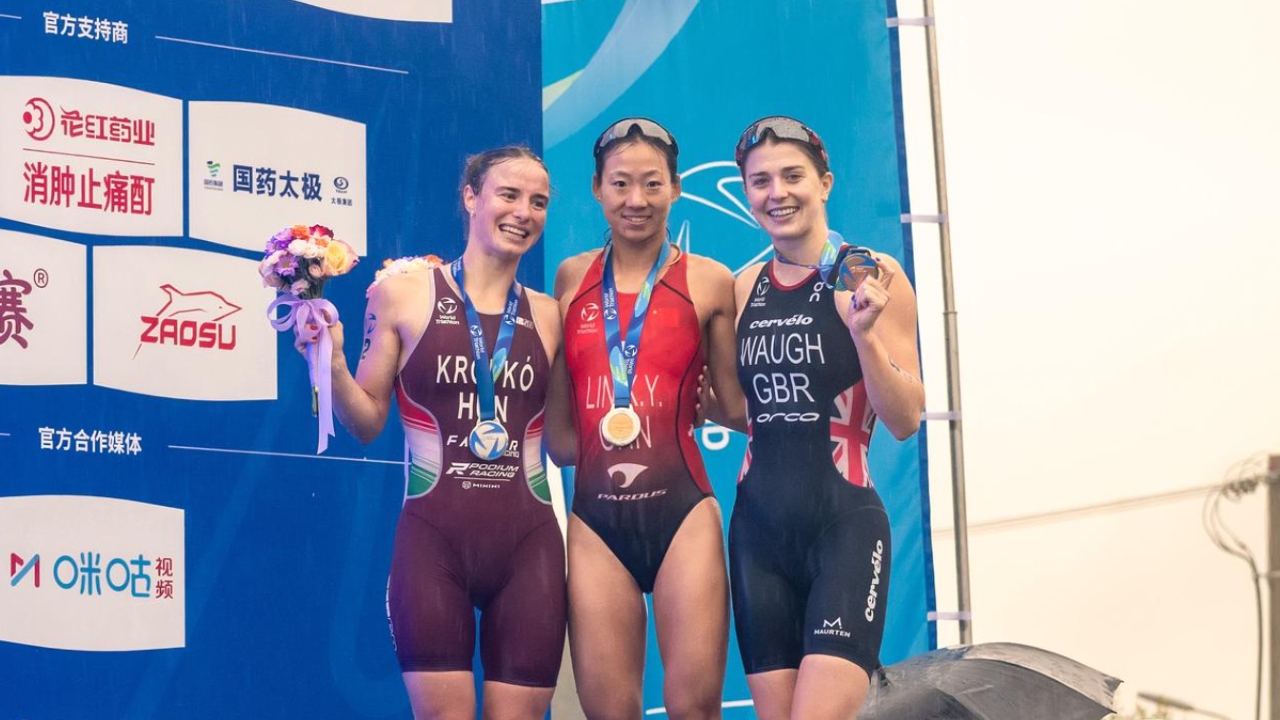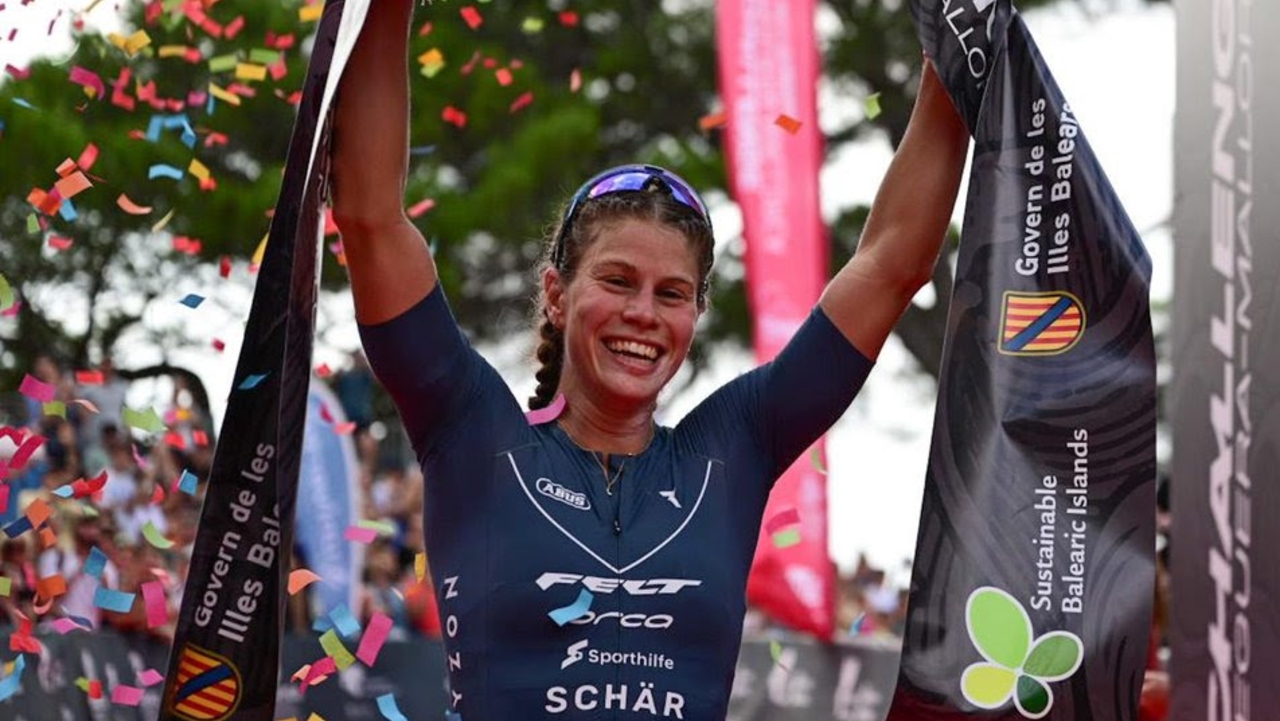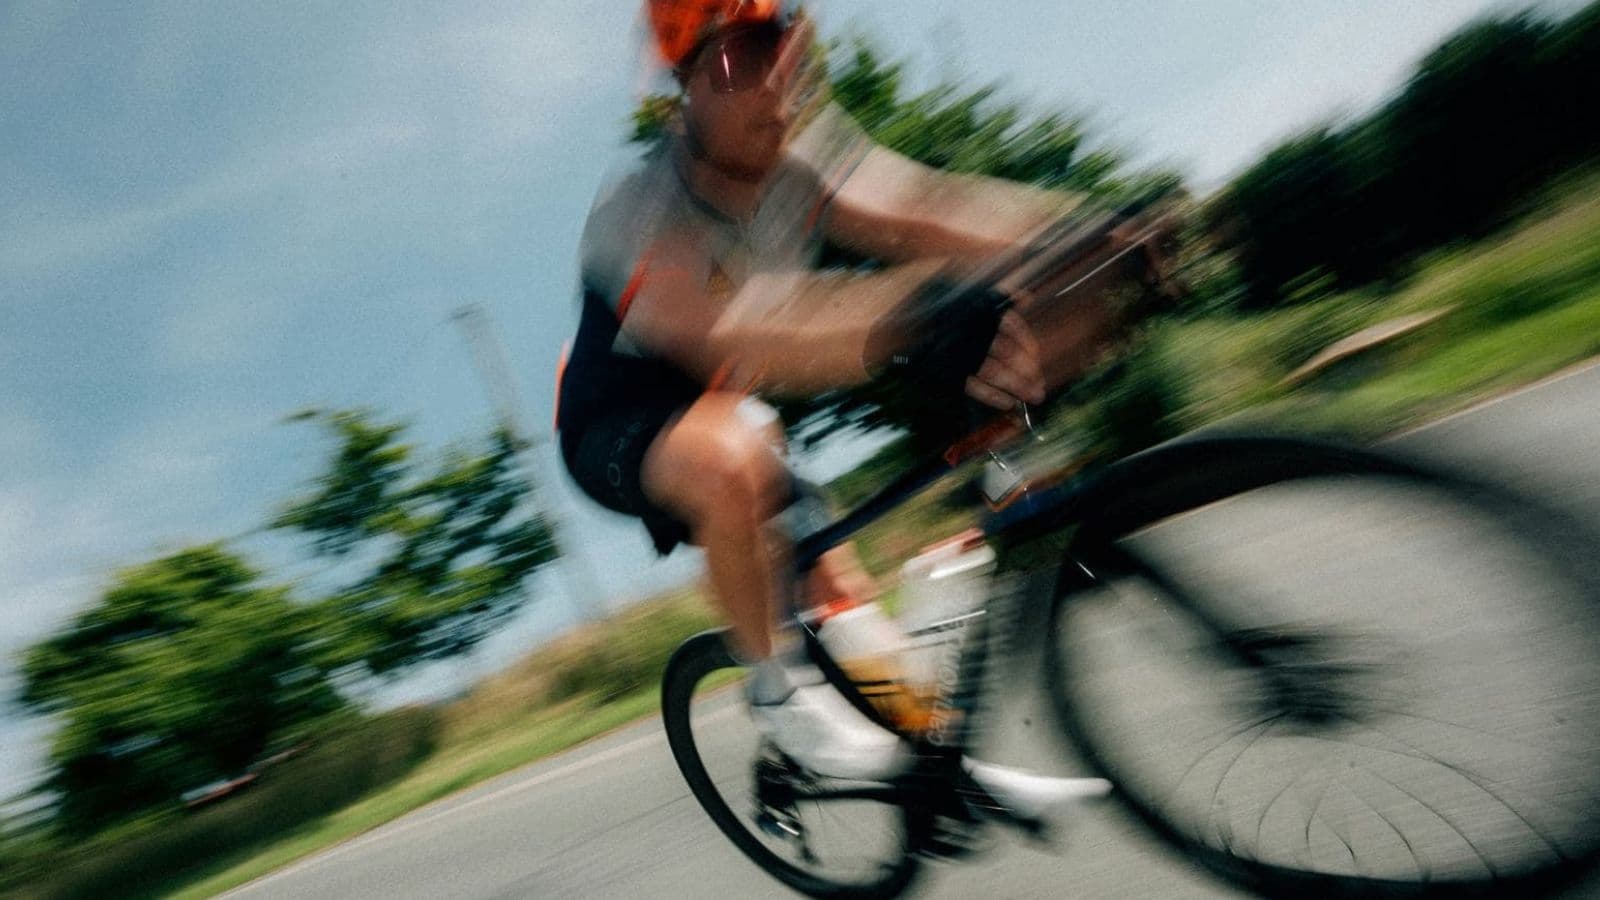


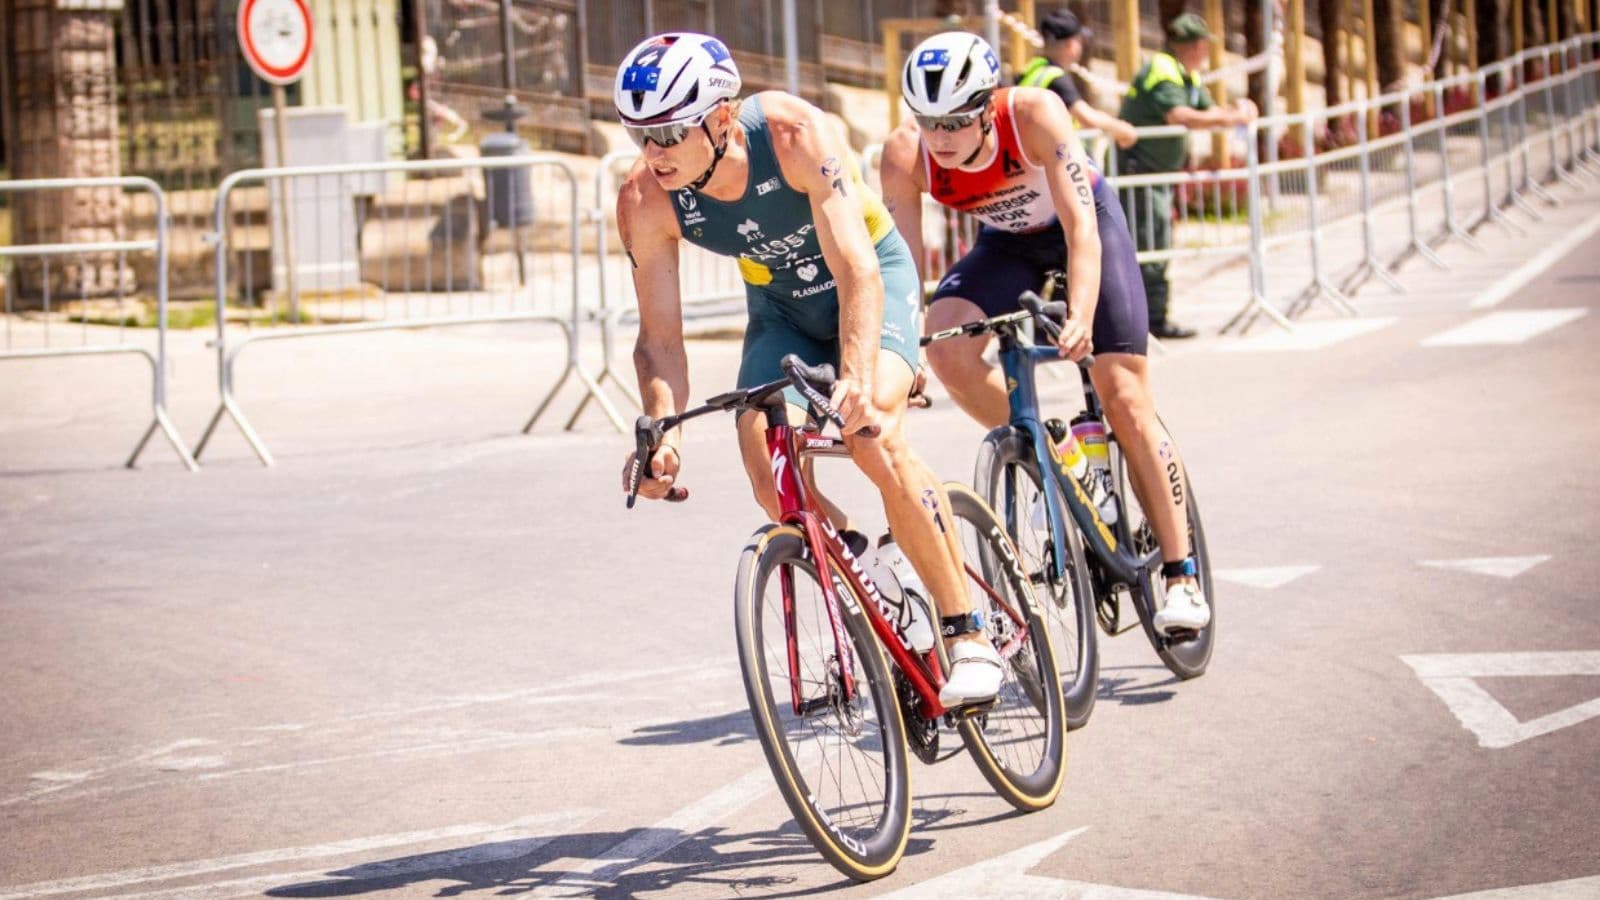
A good triathlon bike fit places you in a position where you can produce power comfortably, control the bike confidently, and still run effectively after T2. The lowest or most aggressive aerodynamic position is not automatically the fastest if you cannot maintain it for the required race distance. Bike fit is individual. Your height alone cannot determine the ideal saddle, handlebar, aero bar, or cleat position because flexibility, proportions, riding experience, injury history, and race distance all influence what works. Start with the main contact points: saddle, pedals, and handlebars. Make small adjustments, test them during normal training, and avoid changing several variables at once. For persistent pain, major asymmetry, or an aggressive triathlon position that you cannot make comfortable, a professional bike fit can be worthwhile.
In Short
- Correct saddle height before adjusting smaller details.
- Check whether the saddle is too far forward or backward.
- Set reach so you are not excessively stretched or cramped.
- Make the aero position sustainable for your race distance.
- Adjust aero bar pads and extensions for comfortable arm support.
- Prioritize a position you can maintain while still running well afterward.
Start With the Right Bike Size
Fit adjustments can only compensate so far for an unsuitable frame. A bike that is significantly too large or too small may make it difficult to achieve a comfortable position even after changing the stem, saddle, or aero bars.
Frame geometry affects:
- Reach.
- Stack height.
- Handling.
- Weight distribution.
- Available adjustment range.
Understanding how does bike packing affect the endurance of triathletes is useful because two bikes labeled as the same nominal size can place a rider in noticeably different positions.
Set Saddle Height First
Saddle height is one of the most important starting points. If the saddle is too low, your knees remain excessively bent through the pedal stroke. This can make pedaling feel cramped and may place unnecessary stress on some structures around the knee.
Signs that the position may need reviewing include:
- Hips rocking from side to side.
- Difficulty reaching the bottom of the stroke.
- Feeling cramped at the top of the pedal stroke.
- Repeated knee discomfort.
- Uneven pressure between the legs.
Find a Comfortable Saddle Position
Saddle discomfort is not always solved by buying another saddle.
First check:
- Saddle height.
- Saddle angle.
- Fore and aft position.
- Riding posture.
- Cycling shorts.
- Time spent adapting to the position.
A triathlon position often rotates the rider farther forward, so saddle shape and setup become especially important. If discomfort persists, how to stop hand numbness and saddle discomfort on long rides can help identify whether the problem comes from pressure distribution, position, equipment, or a combination of factors. Pain or numbness should not simply be accepted as part of long distance cycling.
Adjust Reach to the Handlebars
Reach describes how far you extend toward the bars or aero extensions.
Too much reach can create:
- Shoulder tension.
- Neck discomfort.
- Difficulty controlling the bike.
- Excessive pressure on the hands.
- Trouble remaining in the aero position.
Too little reach can make you feel cramped and restrict comfortable movement. In a good position, the upper body should feel supported rather than constantly held in place through muscular tension. Adjustments may involve the stem, aero bars, pad position, or saddle position, although the saddle should not be moved purely to correct an inappropriate handlebar reach.
Set Handlebar Height for Sustainable Aerodynamics
Lower handlebars can reduce frontal area, but lower is not always faster. If an aggressive position restricts breathing, creates significant discomfort, or forces you to sit upright after a few minutes, the theoretical aerodynamic advantage becomes less useful.
You should be able to:
- Breathe comfortably.
- Maintain control.
- See the road ahead.
- Produce useful power.
- Remain in position for meaningful periods.
- Exit the aero position safely when required.
New triathletes often benefit from beginning slightly more upright and gradually adapting rather than immediately copying elite positions.
Set Up the Aero Bars
Aero bars are a major part of triathlon bike positioning. Your forearms should be supported comfortably by the pads while your hands can reach the extensions without unnecessary tension.
Check:
- Pad width.
- Pad fore and aft position.
- Extension length.
- Extension angle.
- Elbow position.
- Wrist comfort.
The exact setup varies between athletes. Some riders prefer their hands slightly higher, while others are comfortable in a flatter position.
Protect Your Ability to Run After Cycling
Triathlon bike fit should never be assessed purely by how you feel while cycling. A position that produces excellent power for 20 minutes but leaves your hips or lower back excessively fatigued may not be appropriate for a long distance event. Bike position, pacing, and training all influence the transition to running. This is why how can you bike smarter to improve your triathlon run should be considered when deciding whether a bike setup is genuinely effective. Brick sessions provide valuable feedback.
If your bike position feels fine during riding but repeatedly creates significant problems during the run, investigate it.
Check Hip Comfort in the Aero Position
Moving into aero changes the angle between your torso and thighs. An excessively closed hip position can make pedaling feel restricted, particularly near the top of the pedal stroke.
Possible signs include:
- Feeling compressed.
- Difficulty maintaining cadence.
- Hip discomfort.
- Rocking on the saddle.
- Constantly sitting up to relieve pressure.
Adjusting saddle position, aero bar height, or crank related factors may help depending on the cause. Bike fit should allow you to pedal smoothly rather than forcing your body into a position simply because it looks aerodynamic.
Use Cadence as Feedback
A poor position can sometimes interfere with smooth pedaling. If you struggle to maintain your normal rhythm after changing saddle height or position, check whether the adjustment has altered your ability to move freely. Understanding what is cycling cadence in a triathlon helps separate normal changes caused by terrain and gearing from cadence problems caused by an uncomfortable position. There is no single perfect cadence for every rider. The important point is that your fit should not unnecessarily restrict the rhythm that normally works for you.
Cleat Position Matters
Your feet are another major contact point with the bike.
Check:
- Fore and aft position.
- Rotation.
- Side to side positioning.
- Whether the foot feels naturally aligned.
Do not force your feet into a position that feels unnatural simply because both cleats look perfectly symmetrical. Human bodies are not always symmetrical. If knee discomfort repeatedly develops after cleat or saddle adjustments, how to prevent your knees from hurting during long cycling can help you consider fit, workload, cadence, and training progression together. Persistent pain deserves proper assessment.
Balance Aerodynamics and Comfort
Triathlon bike fit involves compromise. An aerodynamic position can reduce drag, but the fastest setup is usually one you can maintain without excessive discomfort or loss of power. This balance changes with race distance. A position suitable for a short triathlon may not be sustainable through the bike leg of an Ironman. When preparing for longer events, which cycling workouts help you ride faster in an ironman should be combined with enough time practicing your actual race position. Fitness alone will not help if you cannot stay comfortably aero.
Bike Handling Still Matters
Aero positioning should never compromise basic control.
You need to move confidently between the aero bars and the brakes, especially around:
- Junctions.
- Corners.
- Descents.
- Other riders.
- Rough roads.
- Wet conditions.
If your position makes controlling the bike feel unpredictable, adjust it before worrying about additional aerodynamic gains.
Test Changes During Normal Training
A bike fit cannot be judged from five minutes of easy pedaling.
Test important changes during progressively longer sessions.
Pay attention to:
- Saddle comfort.
- Knee movement.
- Neck and shoulder tension.
- Hand pressure.
- Lower back comfort.
- Ability to remain aero.
- Power and perceived effort.
- How your legs feel during a brick run.
Avoid making a large fit change immediately before a race.
Your body may need time to adapt even when the new position is better.
Change One Thing at a Time
Making several adjustments together makes it difficult to determine what improved or worsened the position.
A better approach is:
- Identify the main problem.
- Make a small adjustment.
- Record the change.
- Ride several times.
- Evaluate the result.
- Adjust again if necessary.
Measure your existing setup before changing anything.
This gives you a reference point if the new position feels worse.
Fit Should Match Race Distance
A sprint triathlete and an Ironman athlete may prioritize bike fit differently. Shorter races allow some riders to tolerate a more aggressive position for a shorter duration. Long course riders need greater sustainability because they may spend several hours on the bike before running. Training should also reflect that difference, and how should cycling workouts change for different race distances helps connect bike position with the demands you actually need to sustain.
Fit for your event, not for a photograph.
Strength and Mobility Support Bike Fit
Not every positioning problem can be solved by moving components. Mobility, trunk control, and muscular endurance influence how comfortably you hold your position. For example, an athlete may be physically unable to maintain an aggressive posture even when the bike itself is adjusted correctly. Strength work can help, and what strength training should cyclists do to ride faster in a triathlon can support the stability required to maintain a consistent position under fatigue. Fit and physical capacity work together.
Check the Bike Before Race Day
Once you have found a comfortable fit, protect it.
Before racing, check:
- Saddle position.
- Aero bars.
- Bolts.
- Cleats.
- Pedals.
- Brake controls.
- Tires.
- Gearing.
A routine based around what you should check on your bike before every ride becomes especially valuable after transporting or rebuilding the bike.
A perfectly fitted bike is not useful if something has shifted during travel.
Common Mistakes
- Copying another athlete’s bike measurements.
- Setting the handlebars excessively low.
- Moving the saddle to fix every reach problem.
- Making several adjustments at once.
- Ignoring numbness or persistent pain.
- Testing a new position only on short rides.
- Prioritizing appearance over sustainability.
Practical Tips
- Measure your current setup before changing it.
- Correct major saddle problems first.
- Make small adjustments.
- Test changes over multiple rides.
- Practice your aero position regularly.
- Include longer rides in fit testing.
Actionable Takeaways
A good triathlon bike fit balances aerodynamics, comfort, power, control, and the ability to run effectively afterward. Start with the correct frame size and then work through saddle height, saddle position, reach, handlebar height, aero bars, and cleats. Avoid making large or multiple changes at the same time. Most importantly, test the position under realistic conditions. A setup that feels comfortable for a short indoor ride may feel very different after several hours outside.
The best triathlon bike fit is not simply the lowest or most aerodynamic position possible. It is the position you can maintain efficiently for your race distance while arriving at T2 capable of running well.