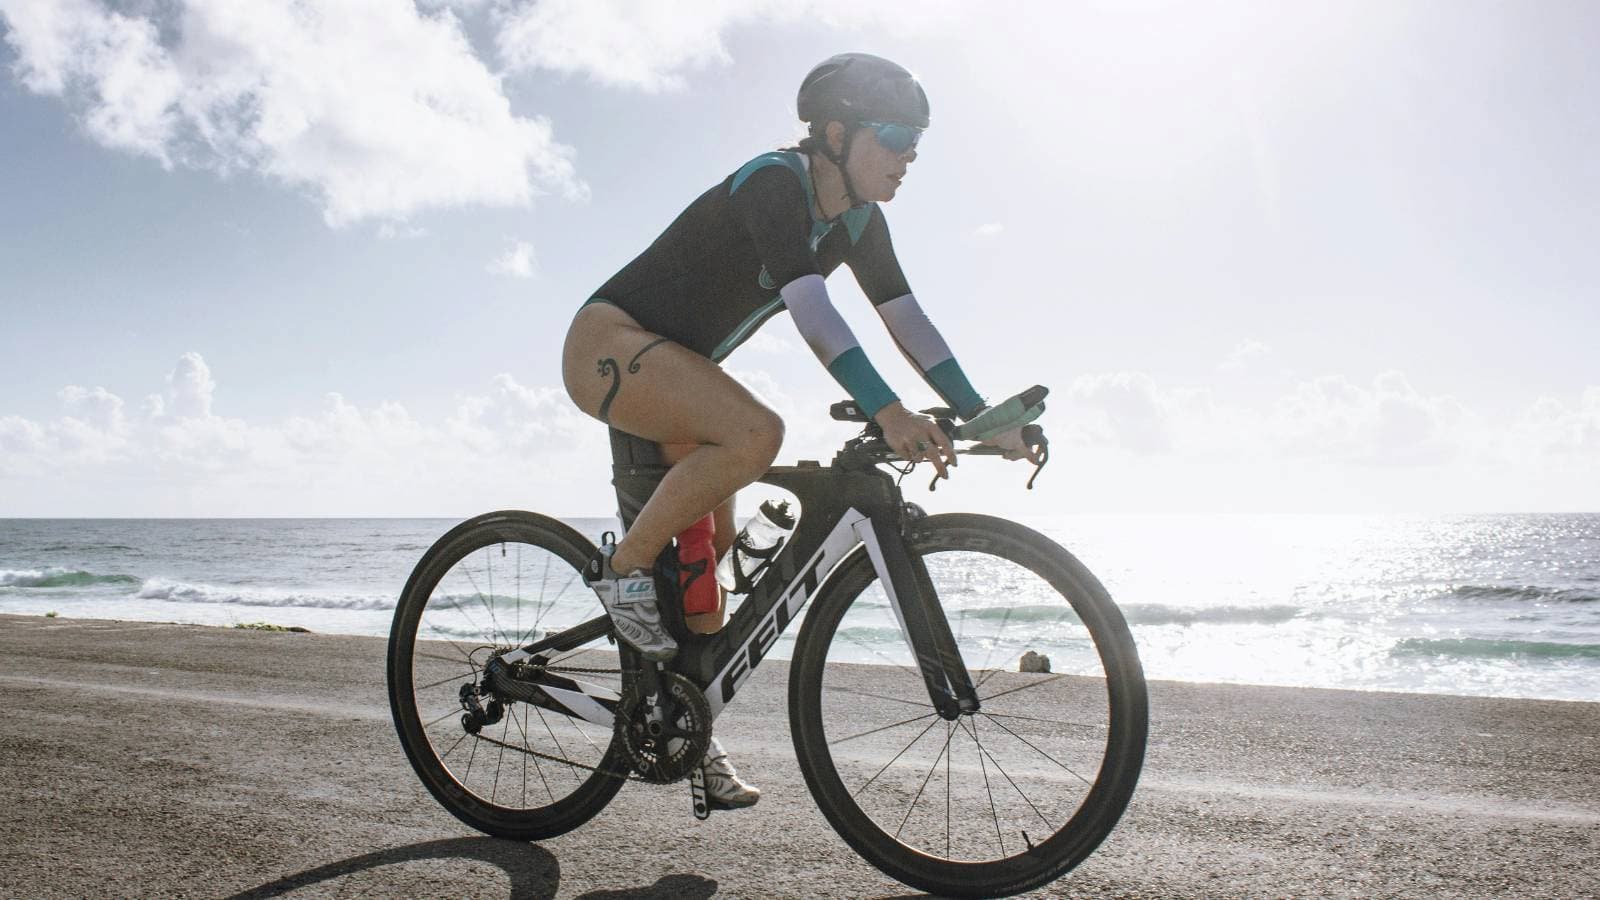


After reassembling your triathlon bike, check every component you removed or loosened before riding. A bike can look correctly assembled while still having a loose wheel, incorrectly positioned handlebar, poorly adjusted brake, or fastener that has not been tightened to the correct specification. Triathlon bikes are commonly partially disassembled for transport, which may involve removing the wheels, pedals, seatpost, aerobars, derailleur, or other components depending on the bike and travel case. Do not leave the inspection until shortly before your race start. Reassemble the bike early enough to perform a careful check and complete a short test ride while there is still time to correct a problem or visit a mechanic.

The exact procedure depends on your bike and components, so follow the manufacturer’s instructions and specified torque values. If you are uncertain about any safety critical component, have a qualified bicycle mechanic inspect it before riding.
In Short
- Check everything that was removed or loosened.
- Confirm both wheels are securely installed.
- Test the brakes before riding.
- Check the handlebar and aerobars.
- Confirm the seatpost and saddle position.
- Inspect pedals and cranks.
- Shift through all gears.
- Check tire pressure and condition.
- Use the correct torque specifications.
- Finish with a controlled test ride.
Start With a Complete Visual Inspection
Before touching individual components, look over the entire bike.
Check for:
- Missing bolts.
- Loose parts.
- Damaged cables.
- Twisted hoses.
- Cracks or impact damage.
- Components sitting at unusual angles.
Transport can expose a bike to forces it would not normally experience while riding. A systematic inspection based on what you should check on your bike before every ride provides a useful starting point, but a post travel inspection should pay extra attention to anything disturbed during packing.
Check Both Wheels Carefully
Make sure each wheel is fully seated and securely attached.
Depending on the bike, check the:
- Thru axles or quick releases.
- Wheel alignment.
- Brake rotor position.
- Tire clearance.
- Wheel rotation.
Spin each wheel. It should rotate freely without obvious rubbing, wobbling, or unusual noises. If you removed a wheel for transport, never assume that simply reinstalling the axle means the wheel is correctly positioned.
Test the Brakes Before Riding
Brake function is one of the most important safety checks. Squeeze both brake levers firmly while stationary.
Check that:
- The levers feel normal.
- The brakes engage properly.
- Rotors or rims are not rubbing excessively.
- Brake components are correctly aligned.
- Hydraulic hoses or cables are not damaged.
A brake problem discovered at speed can have serious consequences. The same careful equipment approach used when learning how can you improve downhill cycling becomes even more important when a bike has just been reassembled.
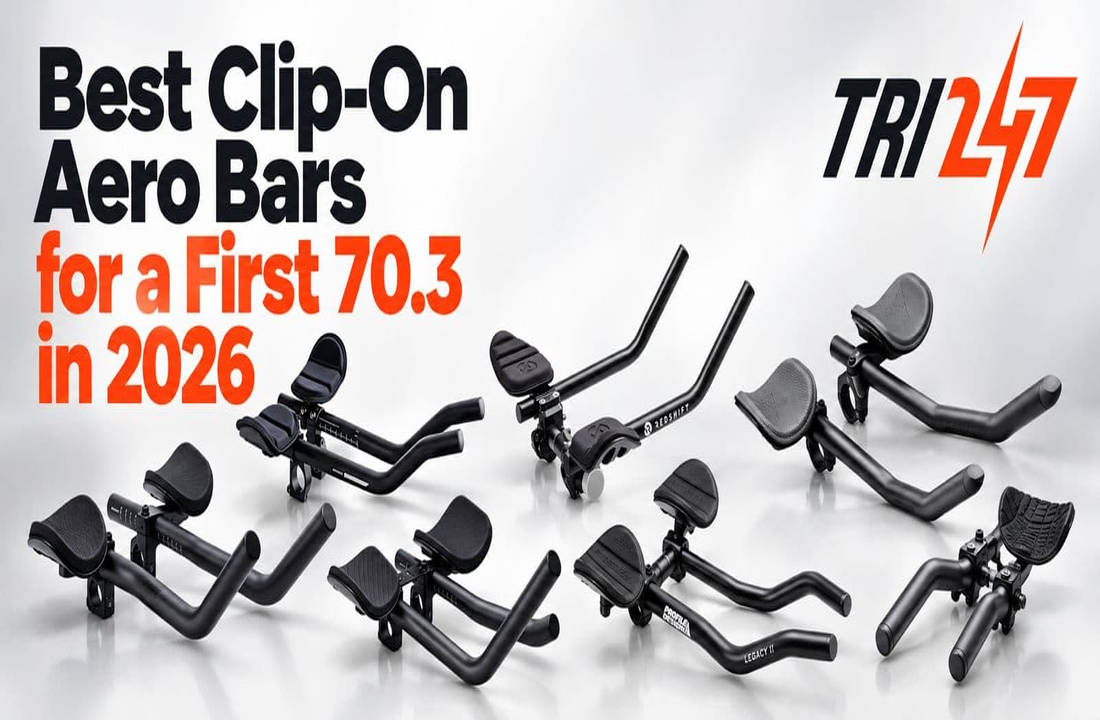
Inspect the Handlebar and Aerobars
Triathlon cockpits can contain several adjustable parts.
Check the:
- Base bar.
- Aerobar extensions.
- Arm pads.
- Stem.
- Computer mount.
- Accessories.
Nothing should rotate or move unexpectedly when moderate force is applied. Make sure the bars are straight relative to the front wheel and that your aerobar setup matches your normal position. Avoid guessing torque on carbon components. Use the manufacturer’s specification and an appropriate torque wrench.
Restore Your Bike Fit
If the seatpost, saddle, or cockpit was moved for transport, restore your normal position carefully.
Check:
- Saddle height.
- Saddle angle.
- Saddle fore and aft position.
- Aerobar reach.
- Arm pad position.
Small changes can become noticeable during a long race. Knowing how do you adjust your bike for a better fit is useful when restoring your setup, but race travel is generally not the ideal time to experiment with a completely new position. Marking important positions before packing can make reassembly easier.
Check the Pedals and Cranks
If you removed your pedals, make sure they are installed on the correct sides and tightened according to the manufacturer’s guidance.
Then inspect:
- Pedal attachment.
- Crank arms.
- Chainring area.
- Cleat engagement.
Rotate the cranks slowly and listen for unusual sounds. Remember that left and right pedals use different thread directions. If a pedal does not thread smoothly by hand at first, stop rather than forcing it and potentially damaging the crank threads.
Shift Through Every Gear
Transportation can affect derailleur alignment, particularly if the rear derailleur or hanger has been exposed to impact. With the bike safely supported, shift through the available gears.
Look for:
- Slow shifts.
- Chain skipping.
- Excessive drivetrain noise.
- Difficulty reaching certain gears.
- Chain rubbing.
A minor indexing problem may be easy to correct, while poor shifting after transport can also indicate a bent derailleur hanger. Good shifting supports efficient riding, and what cycling drills help improve triathlon bike technique will be far more useful when the bike itself is functioning correctly.
Check the Chain and Drivetrain
Inspect the chain before your test ride.
Make sure it is:
- Correctly routed.
- Sitting on the chainring.
- Running through the derailleur correctly.
- Free from obvious damage.
Check that nothing was displaced during packing. Turn the cranks by hand and watch the drivetrain operate before applying significant force through the pedals. If anything looks incorrectly routed or damaged, fix the problem before riding.
Inspect the Tires
Travel can change tire pressure, and tires may also be damaged during packing or handling.
Check both tires for:
- Cuts.
- Bulges.
- Embedded debris.
- Valve damage.
- Incorrect seating.
- Appropriate pressure.
If you use tubeless tires, check for signs of sealant leakage and confirm the bead is seated correctly.
Do not automatically inflate to the maximum pressure printed on the tire. Use a pressure appropriate for your setup, rider weight, tire width, road surface, and manufacturer limits.
Check All Relevant Fasteners
Focus particularly on bolts that were loosened during packing.
These may include:
- Stem bolts.
- Aerobar bolts.
- Seatpost clamp.
- Saddle clamp.
- Accessory mounts.
Correct torque matters, especially with carbon components. Too little torque may allow movement. Too much can damage components. If you regularly travel with your bike, keeping the required torque values available can make reassembly more reliable.
Check for Transport Damage
Bike cases reduce risk, but they cannot guarantee that nothing was damaged.
Look closely around:
- Frame tubes.
- Fork.
- Derailleur hanger.
- Dropouts.
- Cockpit.
- Wheels.
Carbon damage is not always obvious. If you notice a crack, deep impact mark, unusual flex, or suspicious damage, do not ride until the component has been properly assessed. Understanding how does bike geometry affect triathlon cycling performance is useful for setup, but structural integrity always takes priority over position or aerodynamics.
Confirm Your Electronics Work
Check any electronic equipment before leaving for your ride.
This can include:
- Electronic shifting.
- Bike computer.
- Power meter.
- Speed sensor.
- Cadence sensor.
- Lights when needed.
Make sure batteries are charged and devices connect normally. If you train or race with power, knowing what is ftp in triathlon cycling can help guide intensity, but a power number is irrelevant if the sensor has not reconnected correctly after travel.
Do a Stationary Safety Check
Before riding, hold the bike firmly and perform a final check.
Test:
- Front brake.
- Rear brake.
- Handlebar security.
- Saddle security.
- Wheel security.
- Pedal attachment.
Gently apply pressure to the bike and listen for unusual clicks or movement. Do not deliberately overload carbon parts while checking them. The purpose is to identify obvious looseness before you put body weight and speed through the bike.
Take a Short Test Ride
Never make race morning the first ride after reassembly if you can avoid it. Start slowly in a safe area.
During the test ride, check:
- Braking.
- Steering.
- Shifting.
- Pedaling.
- Saddle position.
- Aerobar position.
- Unusual noises.
Gradually increase speed only when the bike feels normal. The controlled approach described in how to ride in headwinds and crosswinds on a bike is also useful when your first test ride happens in unfamiliar or windy race conditions.
Test Your Race Position
Once basic bike function is confirmed, briefly ride in your normal aero position.
Check whether:
- Reach feels normal.
- Arm pads feel correctly positioned.
- Saddle height feels familiar.
- Steering remains secure.
- Shifters are accessible.
Do not use the test ride to make unnecessary last minute fit changes. A familiar position is usually preferable immediately before racing.
Check Again After the Test Ride
A short ride can reveal movement that was not obvious while stationary. Recheck important fasteners and components, particularly anything that was removed. If the bike will be used for a long race, reliable equipment supports the pacing principles in how should you pace the bike to run better in a triathlon because mechanical problems can quickly disrupt an otherwise controlled race plan.
Common Mistakes
- Assuming reassembly is correct because the bike looks normal.
- Forgetting to test both brakes.
- Failing to use correct torque values.
- Forcing pedal threads.
- Ignoring wheel alignment.
- Skipping the drivetrain check.
- Changing bike fit immediately before racing.
- Riding fast before testing steering and brakes.
- Waiting until race morning for the first ride.
Practical Tips
- Photograph your bike setup before packing.
- Mark seatpost height when appropriate.
- Keep required tools with your travel equipment.
- Carry a suitable torque wrench.
- Save important torque specifications.
- Reassemble the bike as early as possible.
- Complete a short test ride.
- Recheck the bike after riding.
- Use a mechanic if anything feels uncertain.
Actionable Takeaways
- Check every part that was removed or loosened.
- Prioritize wheels, brakes, cockpit, pedals, and tires.
- Use correct torque specifications.
- Always complete a controlled test ride when possible.
If a tire problem appears during your check, knowing how do i fix a puncture on a road bike can also prevent a simple mechanical issue from disrupting race preparation.