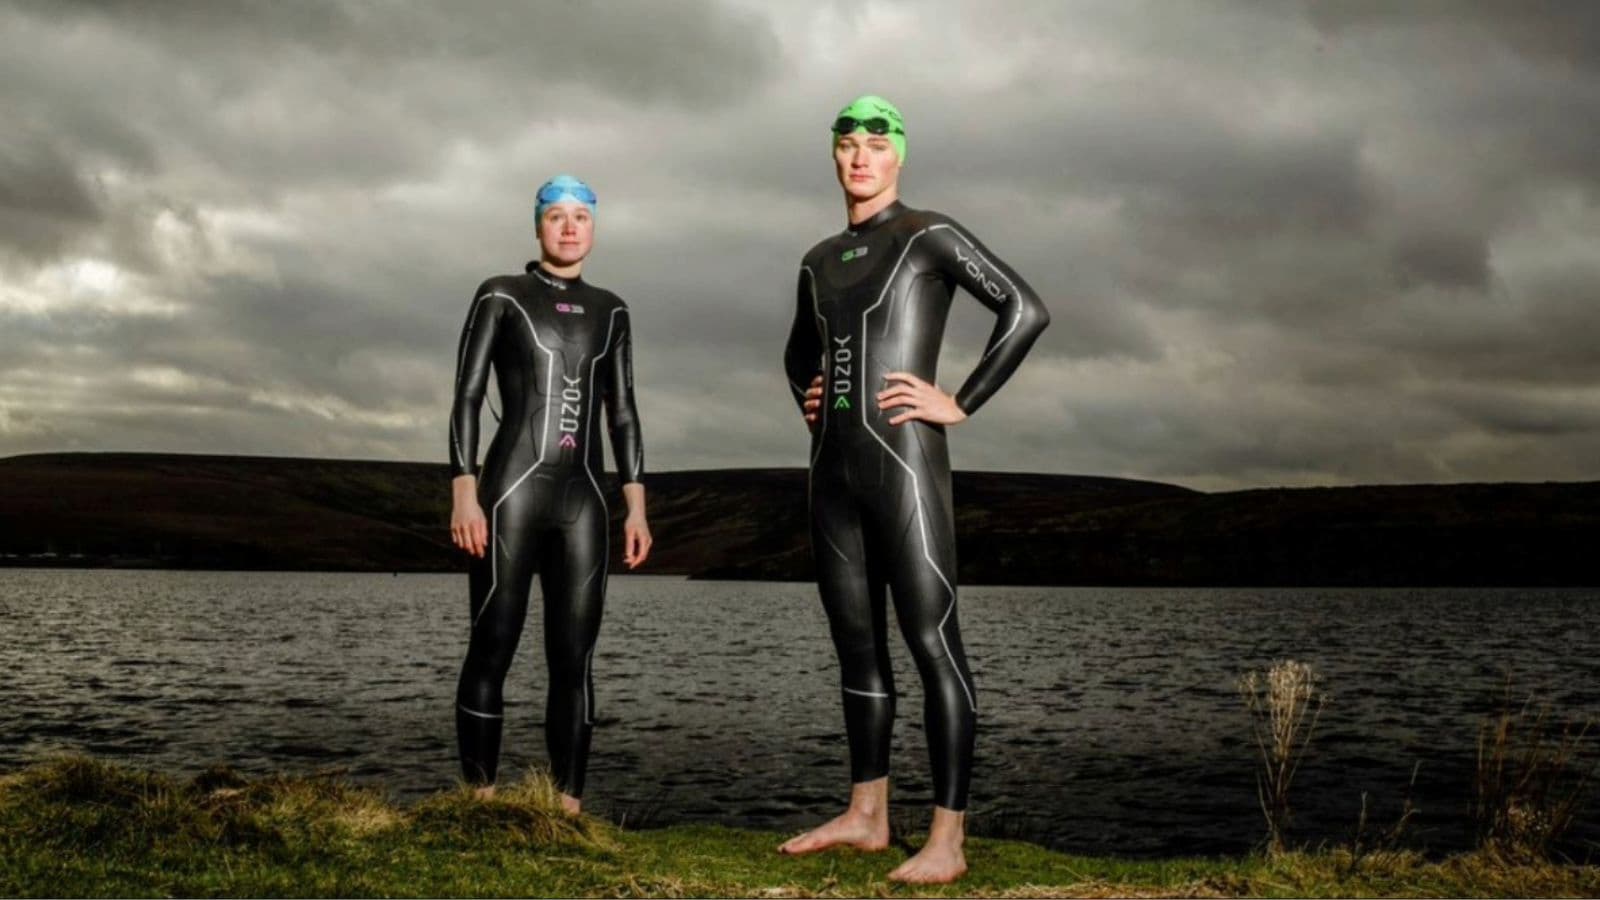


Finding a tear in your wetsuit a few days before a triathlon does not necessarily mean you need a new one. Small fingernail cuts, surface tears, and minor splits in neoprene can often be repaired with wetsuit specific adhesive. Larger tears, damaged seams, or problems around the zipper may require professional repair. The important thing is to inspect your wetsuit early rather than discovering damage on race morning. A good repair should close the damaged neoprene without creating a stiff area that restricts movement or irritates your skin. You also need enough time for the adhesive to cure according to its instructions. Repair the wetsuit before your final open water practice whenever possible so you can confirm that it remains comfortable and functional.
In Short
- Inspect your wetsuit several days before racing.
- Small neoprene cuts can often be repaired at home.
- Use adhesive designed for neoprene or wetsuits.
- Make sure the damaged area is clean and completely dry.
- Follow the adhesive manufacturer’s curing instructions.
- Check the zipper carefully after any repair.
- Test a repaired wetsuit before race day when possible.
- Replace the wetsuit if damage compromises its function or cannot be repaired reliably.
Inspect the Entire Wetsuit First
Do not repair the first visible cut and immediately pack the wetsuit. Inspect the entire suit in good light.
Pay particular attention to the:
- Shoulders
- Underarms
- Crotch
- Lower legs
- Cuffs
- Seams
- Zpper
- Areas where you normally grip the neoprene
Small fingernail cuts are common because triathlon wetsuits use flexible neoprene that can be damaged by sharp nails. Also check whether a visible mark is merely superficial or whether it opens when the material is gently flexed. This inspection should form part of your wider race preparation. Equipment checks are just as important as knowing how do you know if you are ready for a triathlon physically.
Small Fingernail Cuts Are Often Repairable
A small cut in the neoprene does not usually mean the wetsuit is ruined. Wetsuit or neoprene adhesive is designed to bond the edges of this type of damage. Start with a completely dry wetsuit. Gently open the cut so you can access the damaged surfaces, then apply the repair product according to its manufacturer’s directions. Many neoprene adhesives work by coating the damaged edges, allowing the adhesive to become tacky, and then pressing the surfaces together. Exact application and curing procedures vary, so follow the instructions supplied with the product rather than improvising.
Clean and Dry the Area Before Repairing It
Adhesive needs a suitable surface.
If the wetsuit has recently been used rinse away:
- Salt
- Sand
- Dirt
- Other contamination before attempting the repair
Allow it to dry completely. Do not rush because your race is approaching. Applying adhesive to wet or dirty neoprene can produce a poor bond and leave you repairing the same tear again. Avoid using household cleaning chemicals unless the repair product specifically recommends them. Once clean and dry, place the wetsuit somewhere flat and well ventilated where you can work carefully.
Use Wetsuit Specific Adhesive
General household glue is not automatically suitable for neoprene. A wetsuit needs to stretch as you swim, so the repaired area must tolerate movement. Use a product specifically intended for neoprene or wetsuit repair and follow its safety and application instructions. Avoid applying a large amount simply because you think more glue will create a stronger repair. Excess adhesive can create a thick, stiff patch. Flexibility is particularly important around the shoulders, where unrestricted movement contributes to comfortable swimming.
Good wetsuit fit and freedom of movement can support the technique involved in how to increase triathlon swim speed, whereas a badly repaired stiff area can become distracting.
Larger Tears Need More Caution
A long or wide tear is different from a tiny fingernail cut. The greater the damage, the more difficult it may be to create a durable home repair. Large tears may require:
- Patching
- Specialist bonding
- Professional wetsuit repair
particularly when the damaged area experiences substantial stretching. Do not assume that covering a large tear with excessive adhesive is enough. If you are uncertain whether the repair will hold, contact the wetsuit manufacturer or an experienced wetsuit repair service. The closer you are to race day, the more important reliability becomes.
Be Careful With Damaged Seams
Seam damage deserves particular attention because seams join major wetsuit panels. A loose thread does not necessarily mean the whole seam is failing, but separation between panels can become a significant problem. Avoid pulling loose threads or cutting anything until you understand how the seam is constructed. Some seam problems may require specialist adhesive and stitching techniques. A professional repair is often the safer option when a structural seam is opening significantly. The suit needs to remain secure while you swim and while repeatedly moving your shoulders, hips, and legs.
Zipper Problems Can Be Race Ending
Check the zipper from top to bottom.
Open and close it carefully while looking for:
- Missing or damaged teeth.
- A slider that repeatedly jams.
- Separation around the zipper attachment.
- Damaged stitching.
- A broken pull cord.
- Material caught in the zipper.
Do not force a jammed zipper aggressively because you may turn a minor issue into major damage. A broken pull cord can often be replaced easily, but structural zipper damage may need professional attention. A secure wetsuit matters especially during busy race starts, where athletes already need to manage positioning and contact using strategies such as how can you avoid getting swum over at the start of a triathlon.
Check the Neck for Damage and Rough Areas
The neckline deserves a separate inspection because it moves constantly while you swim. Small damage around the collar can worsen and may also create a rough edge that rubs against your skin. Run your fingers carefully around the inside of the neck and check for hardened adhesive, damaged seams, or torn neoprene. A repair may technically hold but still be unsuitable if it creates significant chafing. Test comfort before racing. This is especially important because open water swimming requires repeated head movement for breathing and navigation, including the sighting skills covered in why swimming straight matters in open water triathlon.
Do Not Create a New Tear While Putting It On
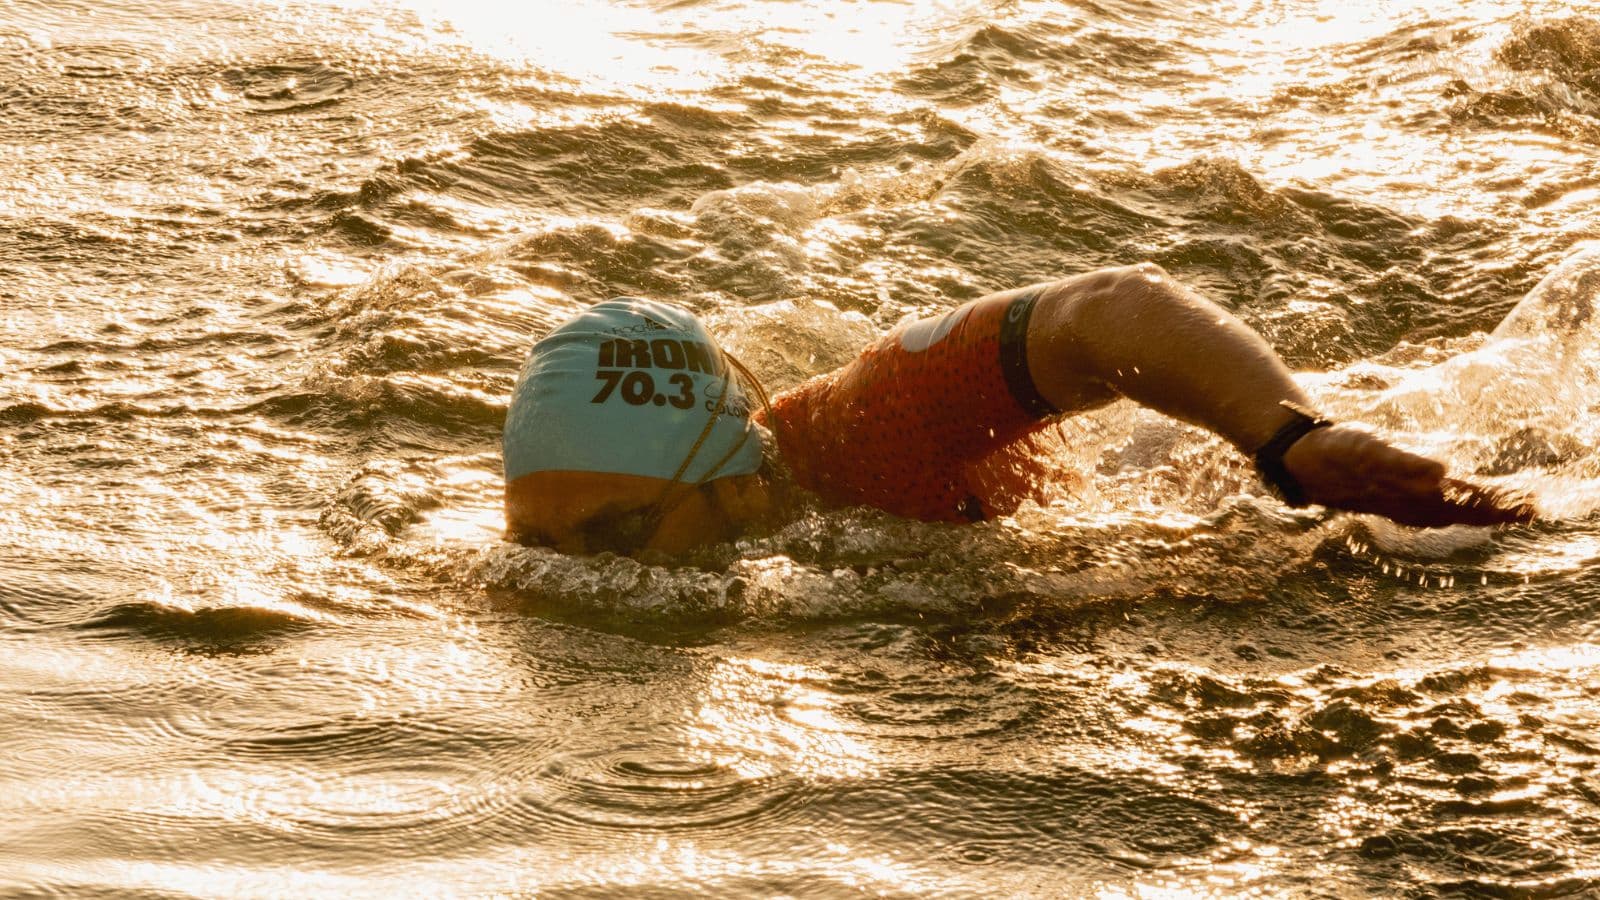
Many wetsuit cuts happen while athletes are getting dressed. Use the pads of your fingers rather than digging your fingernails into the neoprene. Work the suit gradually up the legs and hips instead of pulling aggressively from one point. Once the lower body is correctly positioned, carefully work the upper sections into place. Trying to stretch a poorly positioned wetsuit into place by pulling hard at the shoulders can damage the material. Correct positioning also gives your shoulders enough freedom for normal swimming mechanics and the breathing rhythm involved in how to coordinate breathing with your swim strokes in a triathlon.
Test the Wetsuit Before Race Day
If the repair is completed early enough, test the wetsuit after the adhesive has fully cured.
An easy open water session can confirm whether:
- The repair remains closed.
- The suit feels comfortable.
- The zipper works correctly.
- The neckline does not rub.
- Shoulder movement remains unrestricted.
- No other damage becomes apparent.
Keep the test controlled rather than turning it into a demanding final workout. Athletes approaching race day should understand how can you maintain fitness while tapering for an ironman rather than trying to gain extra fitness through unnecessary last minute intensity.
The purpose of this swim is equipment confirmation.
Know When Not to Repair It Yourself
Home repairs make sense for small, straightforward neoprene cuts.
They make less sense when damage affects important structural areas.
Consider professional repair when you find:
- A large tear.
- Significant seam separation.
- Major zipper damage.
- Torn panels.
- Extensive damage around the neck.
- Previous repairs repeatedly reopening.
Also consider the age and overall condition of the wetsuit. Repairing one cut may not be worthwhile if the neoprene is deteriorating across multiple areas. Race morning is not the time to test an uncertain repair.
Have a Backup Plan
Even a carefully maintained wetsuit can develop a problem. Know what you will do if yours becomes unusable before the race. Depending on the event and water conditions, options may include racing without a wetsuit if permitted, renting one, borrowing a suitable model, or replacing it. Do not assume that a wetsuit will always be allowed. Race rules can restrict wetsuit use according to water temperature and competition regulations. Whatever option you choose, make sure you can swim safely and comfortably in the equipment. This is particularly important for athletes who already find the swim challenging, as explained in why is swimming the hardest part of a triathlon for beginners.
Store the Wetsuit Carefully After Repair
Once repaired, avoid creating another problem through poor storage. Rinse the wetsuit after use, allow it to dry appropriately, and keep it away from excessive heat and direct sunlight for prolonged periods. Follow the manufacturer’s storage recommendations. Do not leave heavy equipment sitting on top of it in your transition bag for weeks. Good equipment care reduces the chance of discovering unnecessary damage before your next race. The same preventive approach applies across your equipment, including completing what you should check on your bike before every ride rather than waiting for something to fail during competition.
Common Mistakes
- Waiting until race morning to inspect the wetsuit.
- Applying adhesive while the neoprene is wet.
- Using unsuitable household glue.
- Applying excessive adhesive.
- Stretching the repair before it has cured.
- Pulling loose seams without checking the damage.
- Forcing a jammed zipper.
- Using fingernails to pull the wetsuit on.
- Racing without testing a questionable major repair.
Practical Tips
- Inspect the wetsuit several days before racing.
- Repair small cuts as soon as you notice them.
- Use neoprene specific repair products.
- Follow the manufacturer’s curing instructions.
- Keep repaired areas unstretched while curing.
- Check seams and the zipper separately.
- Put the wetsuit on with your fingertips, not your nails.
- Test significant repairs before race day.
- Use professional repair for structural damage.
Actionable Takeaways
Most small cuts in a triathlon wetsuit are repairable if you identify them early. Clean and completely dry the damaged area, use an appropriate neoprene or wetsuit adhesive, and follow the product instructions carefully. Give the repair enough time to cure before stretching the material or returning to the water.
Treat larger tears, significant seam separation, and zipper damage more cautiously. These problems may require specialist repair rather than a quick home fix. Finally, inspect the entire wetsuit rather than focusing only on one visible tear. A simple pre race check, careful repair, and short test swim can prevent a minor equipment problem from becoming a major problem on race morning.








![Jonas Schomburg wins in Kalmar 2026. [Photo credit: IRONMAN]](https://www.tri247.com/wp-content/uploads/2026/08/1H5A7725_Gfhj69jc_20260815012118.jpg)